A Step by step guide to Wintex - a User interface to TEXTALTM
Overview
Wintex is GUI front-end to TEXTALTM. It allows you to run commands by
filling in fields and starting tasks.
Here is a screen-shot example of what the interface looks like...
How to use the Interface: 3 Panels on the main window
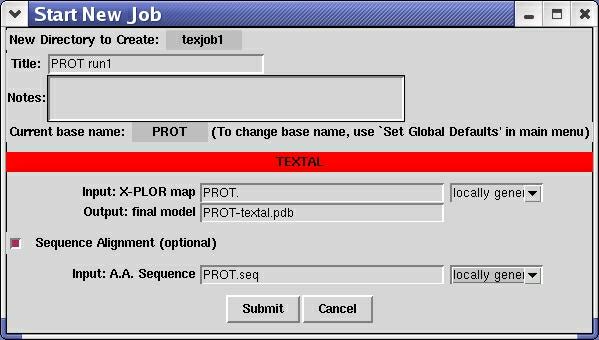
The basic mode of interaction is that you will start a job by selecting
what you want to run from a pull-down menu and filling in fields of
filenames and input parameters in a popup dialog box. Then you submit
the job, and it starts running. It will create a sub-directory called
texjobN, where N will start at 1 and increase incrementally. All the
files from the current run will go in that directory, including temp
files, log files, output files, and even the parameters you input
and the script that got generated and executed. You will be able to
track the progress of your script in a popup window which echos the
output dynamically.
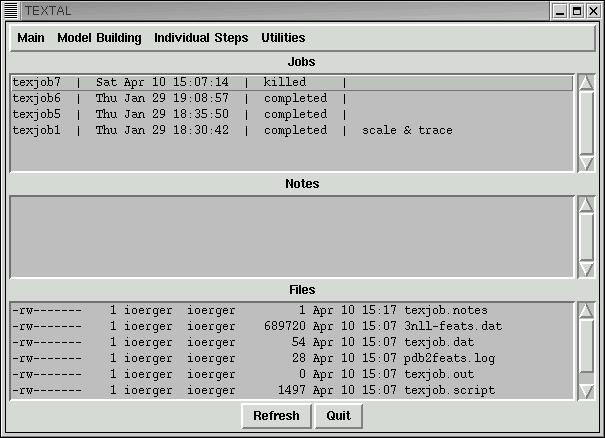
Back in the main window, hitting 'Refresh' will show a new line in
Jobs Panel that has been created for your job, with status 'running'.
Eventually, it will change to 'complete' or 'failed' (you have to keep
hitting Refresh to get updates). When you click on the line for a
given job, all the files are shown in the Files Panel. When
you click on these, it will bring up the contents of the file in a
window for browsing. The files are by time, with the most recently
generated/modified files at the top.
Some important files are:
- texjob.settings - contains parameters originally filled in
- texjob.dat - contains title, process id, etc.
- texjob.notes - contains content of annotations made by user
- texjob.script - contains the actual script that was built and executed
- texjob.out - contains the text output from running the script
The Notes Panel (in the middle of the main window) is an
editable window for annotating jobs. For example, you might want to
type in some comments about why you ran that job, how it differed from
another run, and whether it worked... You don't have to explictly
save these; you can edit them any time, and they will be saved
automatically.
Back in the Jobs Panel, if you right-click on a texjob line, you can
edit its title, kill the job, or delete the job. Multiple jobs can be
run at the same time.
Menu Selections
Main
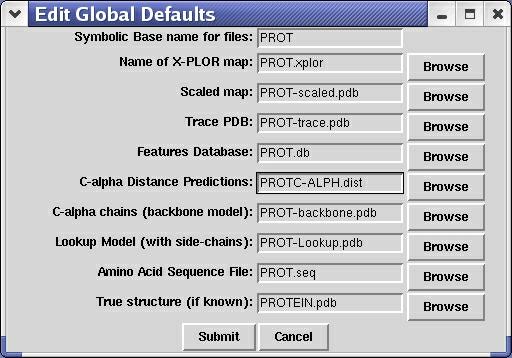
- Set Global Defaults
Setting global defaults is useful but not essential. You can run every other
task with setting anything here. But many of the tasks share common inputs.
For example, a number of tasks require a scaled map as input. Typically,
a user would have to 'Browse' into the directory of a previous texjob
where capra-scale was run, and select the filename of the scaled map.
To make life easier, you can enter this particular file as a global default.
That way, it will automatically be presented as the 'global' option each
time a scaled map is needed in the future.
- Documentation - launches help pages in a Netscape browser
- Quit
Base Name
The symbolic base name is a special global default. Many
of the TEXTALTM programs create temporary files. For convenience, these
may be prefixed with a common base name, perhaps reflecting the
protein being worked on, or a specific version of the dataset. For
example, if the base name were 'PROT;', TEXTALTM will create
files with names like 'PROT-scaled.xplor' (scaled map),
PROT-capra.pdb' (C-alpha chains) and 'PROT-TEXTALTM.pdb'
(final model). These are created by default, although different names
can be selected by the user if desired, in dialog boxes for starting
up jobs. For obscure technical reasons, the base name can only be
changed through the 'Set Global Defaults' menu selection, not during
job creation. If no base name is given, 'temp' will be used by default.
Filename Selection Drop-down boxes
On most job-creation dialog boxes, there are some fields that have a
drop down box next to them with three options: "Locally generated
file", "Global default filename", and "Browse". Obviously, "Browse"
will bring up a traditional file brower dialog box, which you may use
to surf to other directories and specify the file you want.
Model-Building - pre-compiled processes of multiple steps; just input
your map and go
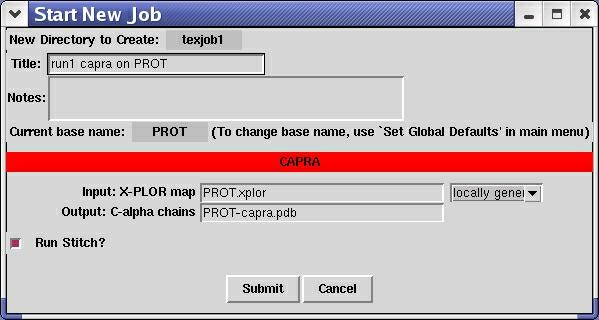
- Build a complete model (TEXTALTM) - input a map, get out complete models with side-chain
- Buld backbone C-alpha chain(Capra) - input a map, get out chains of C-alpha's
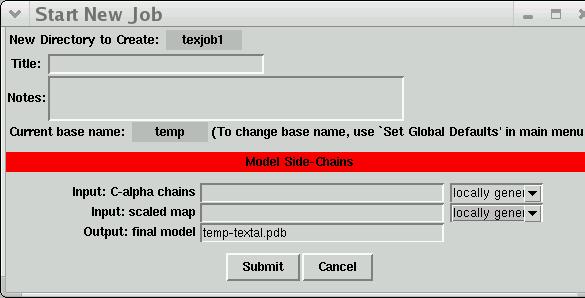
- Build side-chains given the C-alpha - input a C-alphas, get out complete models with side-chains from a C-alpha model
Texjob Directories and Accessing Output Files
Wintex creates a separate sub-directory for each
job that is run. After a job is complete, you may kill the GUI and
retrieve files from those directories. For example, if TEXTALTM has
created a model for you called 'myprotein-TEXTALTM.pdb' in texjob12,
then you can cd into texjob12/ and view 'myprotein-TEXTALTM.pdb' in a
molecular modeling program of your choice, or copy it out of there.
The script file, temp files, log files, and everything else are in there
too.
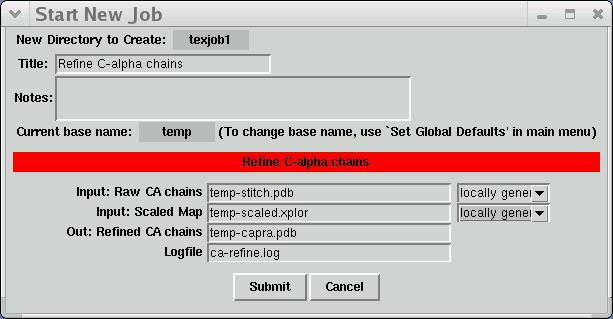
Individual Steps - for those who want to run specific steps on
specific inputs, or tweak some parameters
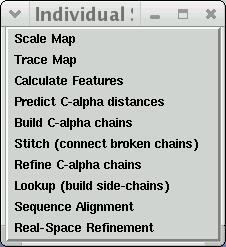
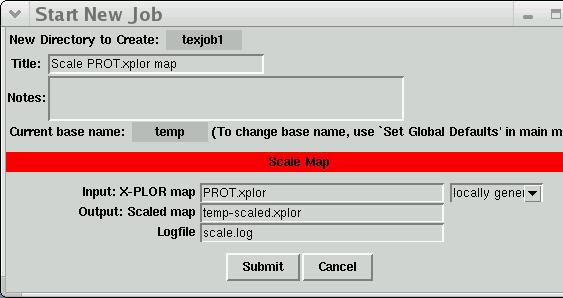
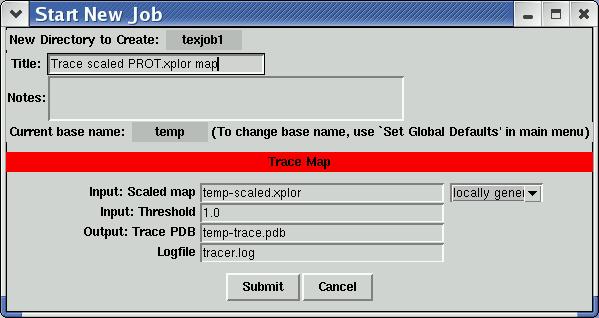
- Scale and Trace
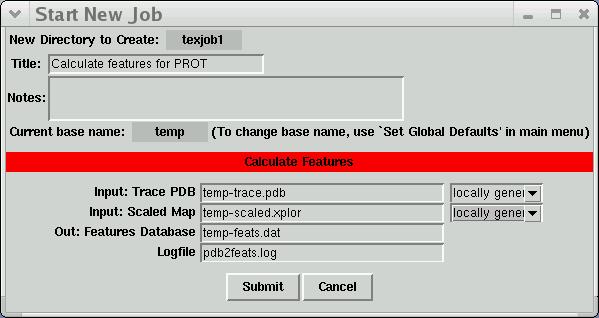
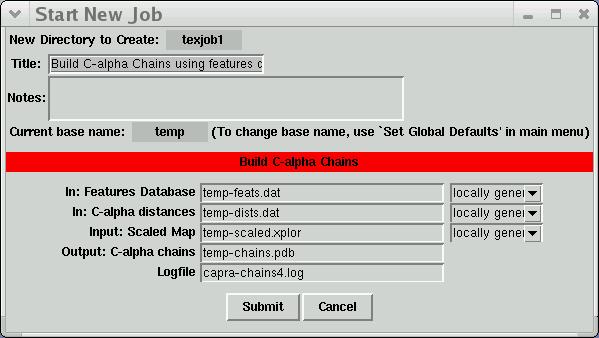
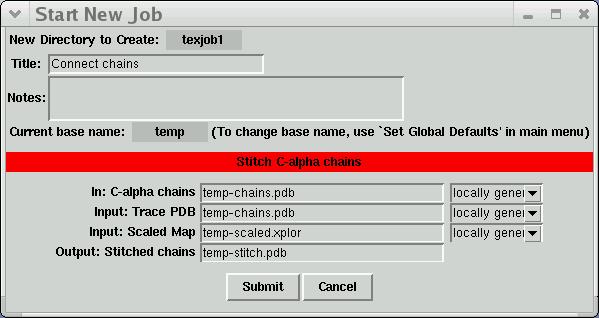
- Capra - calculate features, predict C-alpha distances,
build chains, stitch chains, refine chains
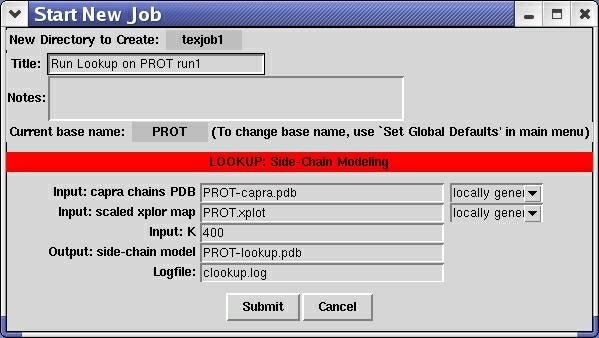
- Lookup
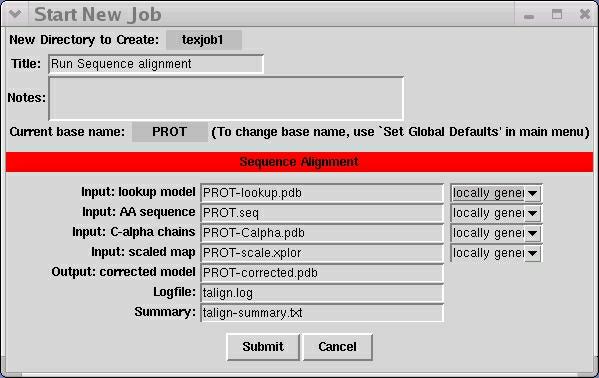
- Sequence Alignment
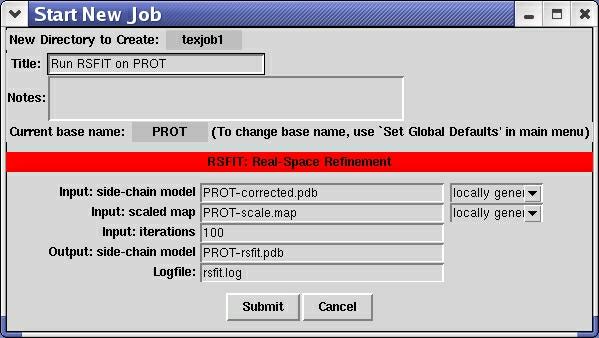
- Real-Space Refinement
Utilities
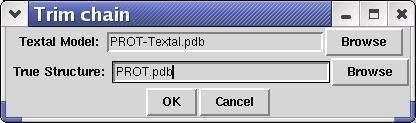
- Trim chains - if you have a reference model/true structure,
you can throw out all the extra chains built in a map except those
superimposed on a select monomer, which helps in
visual inspection of TEXTALTM models
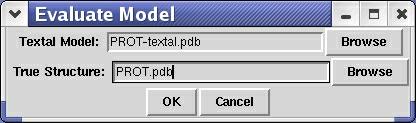
- Evaluate model -
if you have a reference model/true structure, you can compare
a TEXTALTM model against it to get a sense of accuracy (e.g. RMSD)
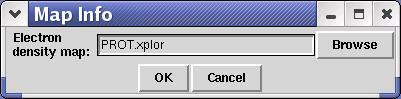
- Map info - prints out some statistics and histogram of density
values
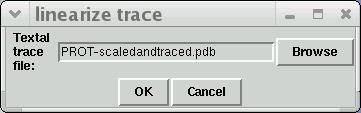
- Linearize trace - outputs a "backbone-like" trace of the electron density map