Contents
The Phenix GUI is primarily a frontend to the command-line programs, with several extra graphical utilities for validation, map generation, and file manipulations. The original GUI is still available but deprecated, and all functionality has been more or less superseded. This page covers the main interface and common behavior; individual program GUIs are covered separately. The GUI runs on all supported operating systems but with some limitations on specific platforms, in particular Microsoft Windows.
The main GUI is started simply by typing the command phenix; by default, it will also open automatically when you launch any of the individual program GUIs. You should not run more than one instance of the GUI at a time, to avoid conflicts with internal database files.
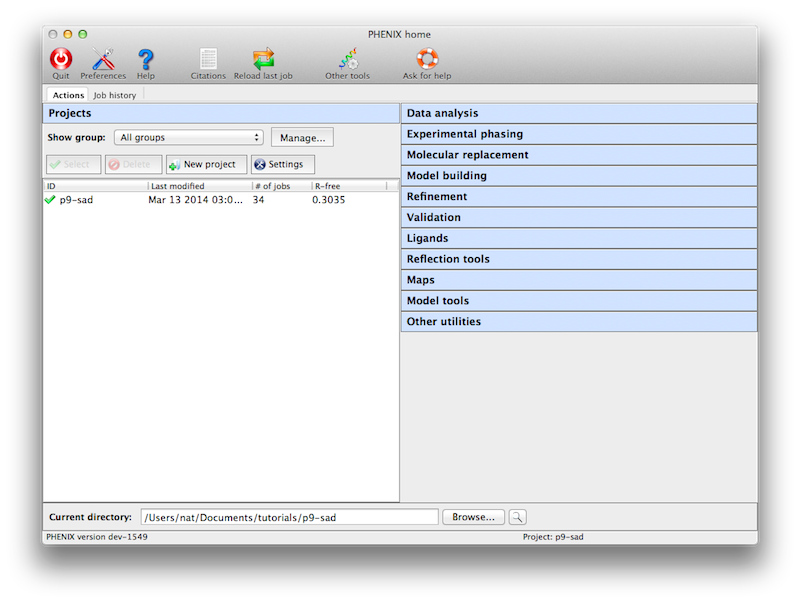
When starting a job, Phenix writes out a configuration file and calls the command-line version of the program. The method of execution varies depending on operating system. On Linux and Windows, By default the job is started directly in the main process, i.e. "locally", which allows communication between the program and the GUI in memory rather than via temporary files. The drawback to this is that if the GUI is closed or crashes, the job will be ended too. An alternate "detached" mode is available (and used as default on Mac), which starts the job as an entirely separate process. This limits the speed at which the GUI can be updated, but allows quitting the GUI without stopping the job.
A third mode, available only to Linux users, is to run jobs on a queueing system; while this could be done entirely on a multi-core workstation, it will usually be spread across a cluster of similar computers. Currently Sun Grid Engine, PBS, LSF, and Condor are supported to varying degrees. To enable queued jobs, open the Preferences, switch to the "Processes" tab, and check the box to enable queueing. The queue submission option will now appear when starting a job. For this to work, the queue job management binaries (for instance, 'qsub', 'qstat', and 'qdel' in SGE) must be in the current environment $PATH, Phenix must be installed in the same location on all nodes, and the filesystem on which the job is being run must be mounted on all nodes. The GUI will display a "waiting" status until the job is actually started. The main interface has a window for viewing the current queue status (Utilities->Show queue status).
Individual programs are grouped by category. Except where noted, most of these correspond to command-line programs, and the documentation for the command-line version should be the primary reference for understanding program behavior and inputs. Additional GUI documentation is available for some programs.
We recommend including reflections in validation, since the model geometry ideally needs to be analyzed along with experimental data. However, the validation GUI will also run with just a PDB file. The phenix.refine GUI will also display a complete validation report at the end of refinement.
Note that a simpler NCS GUI is also available as a plugin to the phenix.refine GUI, and does not necessarily need to be run separately.
A number of simpler tasks involving file modification and visualization can be accessed by clicking the button labeled "Other tools" on the toolbar.
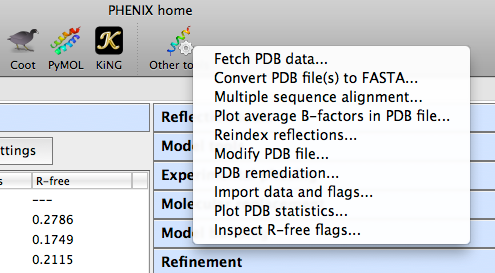
Current options include:
Like the CCP4 GUI (ccp4i), Phenix manages data and job history by grouping into projects. You will be prompted to create a project the first time you start the GUI. On subsequent launches Phenix will attempt to guess the project based on the current directory. There are several constraints on project management:
- Project IDs should be no more than 24 characters and contain only alphanumeric characters (including underscore).
- Project directories may not be nested, i.e. you may not create a project for a directory that is part of an existing project, or that has a subdirectory that is owned by another project.
When a project is created Phenix will create a folder ".phenix" in the project directory; this is used to store job history, temporary files, and other internal data. Users should not need to modify this folder unless deleting the project. All functions related to project management are available from the main GUI only, either in the toolbar or the File menu.
The current version of the GUI has limited functionality for configuring projects. Several options are available for setting the behavior of phenix.refine, such as default parameter files. The GUI will give you the opportunity to create these files automatically, but this feature is optional. The other primary function of the projects is storing job history; although this feature is still in development, it will save basic statistics and configuration files, and can restore the parameters and results of any successful previous run.
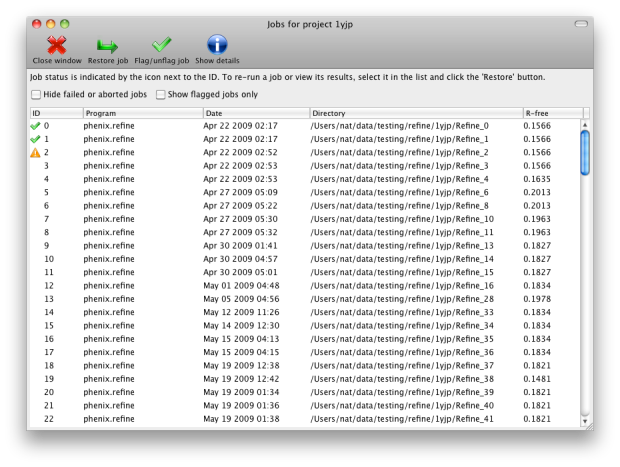
You may switch between projects while a GUI program is running; however, each program window stays associated with the project it was opened with.
A unified interface for making atom selections. More details can be found on this page.
A number of examples using published structures are included in the PHENIX installation, and can be automatically loaded into the GUI as new projects. To load tutorial data, click on "New project" in the main GUI; this window also appears the first time the PHENIX GUI is started (before any projects have been created). The button "Set up tutorial data" will open a new dialog with a list of examples, grouped by the methods they are intended to demonstrate.
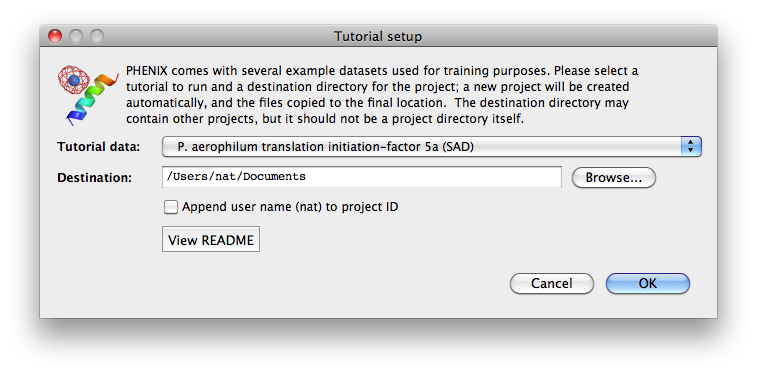
For live demonstration, we normally use the P. aerophilum translation initiation-factor 5a or p9-sad example for experimental phasing, TEM-1 Beta-lactamase/beta-lactamase inhibitor complex (beta-blip) for molecular replacement, S. aureofaciens ribonuclease Sa (rnase-s) for refinement, and N-ethylmaleimide sensitive factor + ATP (nsf-d2-ligand) for ligand fitting. All of these datasets run relatively quickly (5-30 minutes) in the intended programs. (These examples are also used extensively in this documentation.)
Some of the behavior of the GUI can be customized via the Preferences dialog, which is available from the File menu (Linux) or Phenix menu (Mac) and on the toolbar of most programs.
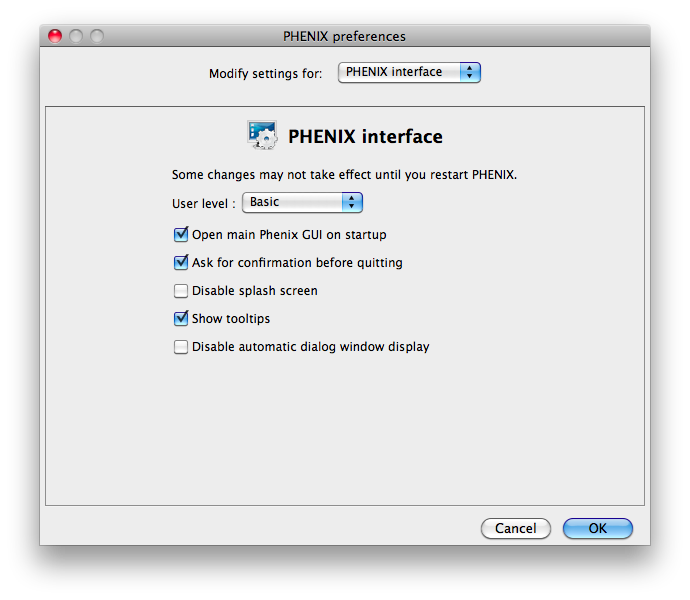
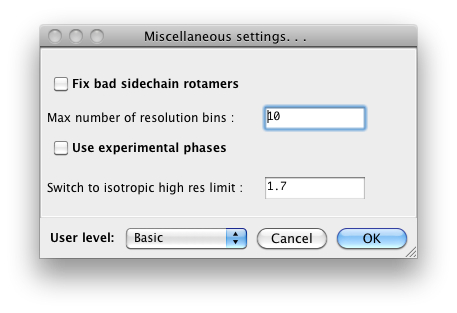
Because some of the larger programs may have up to 500 distinct parameters, many of which rarely need changing, advanced settings are hidden by default. You may control this in individual dialogs using the "User level" menu at the bottom of the window, or change the global level in the "PHENIX interface" pane (shown above), in the "User level" option. For example, in phenix.refine, a typical configuration dialog will look like this when the user level is "Basic":
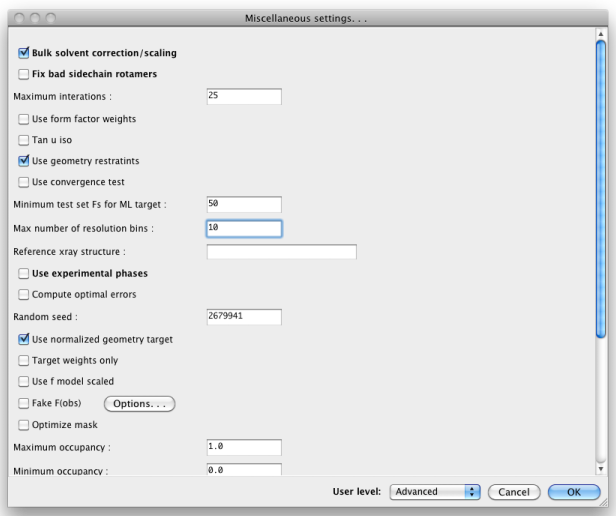
When set to "Advanced", many more options will appear:
Other Preferences settings determine what external programs are used for various file types, interactions with molecular graphics programs (Coot, PyMOL, and the simple built-in graphics), and options for some of the specific modules in Phenix.
Coot is an open-source (GPL) model-building program written by Paul Emsley. Although we do not distribute it with Phenix, it is available as source and binaries for Linux (from the developer's page), and third-party Mac binaries are available (provided by Bill Scott). Documentation on how to use it with Phenix is here. Phenix will try to locate Coot on your system automatically, but if it is not found, you may specify the command to use under Preferences->Graphics->Full path to Coot.
PyMOL is an open-source molecular viewer written by Warren DeLano. We distribute an older precompiled version (0.99) with Phenix; however, we recommend installing the latest version and add the command under Preferences->Graphics->Full path to PyMOL. More information is in the separate PyMOL instructions.
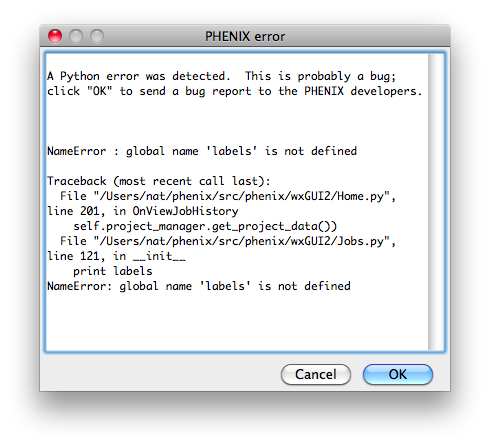
Bugs in the code may result in a pop-up window containing a detailed error message. Clicking "OK" will send an email to the Phenix developers with this information. We strongly encourage users to submit these reports, as they are one of the primary mechanisms by which we identify coding errors. The report will include the error message, information about the host system, and user name/email; no other personally identifying information or data is sent.
The PHENIX GUI is written in Python 2.7, using the wxPython toolkit for most features, plus matplotlib for plotting. Some of the icons used in the GUI came from the Crystal Icons project by Everaldo Coelho which is licensed under the LGPL. Many additional icons (anything with a molecular representation) were generated using PyMOL.
Several open-source programs have been included with PHENIX and are used in various ways in the GUI; we are grateful to their authors for permission to redistribute the code:
- **MUSCLE** written by Bob Edgar. Edgar, R.C. (2004) MUSCLE: multiple sequence alignment with high accuracy and high throughput.Nucleic Acids Res. 32(5):1792-1797.
- **ksDSSP** written by UCSF Computer Graphics Laboratory. Original method (independently reimplemented): W. Kabsch and C. Sander, "Dictionary of Protein Secondary Structure: Pattern Recognition of Hydrogen-Bonded and Geometrical Features" Biopolymers 22:2577 (1983).